EDGES
EDGES: In school
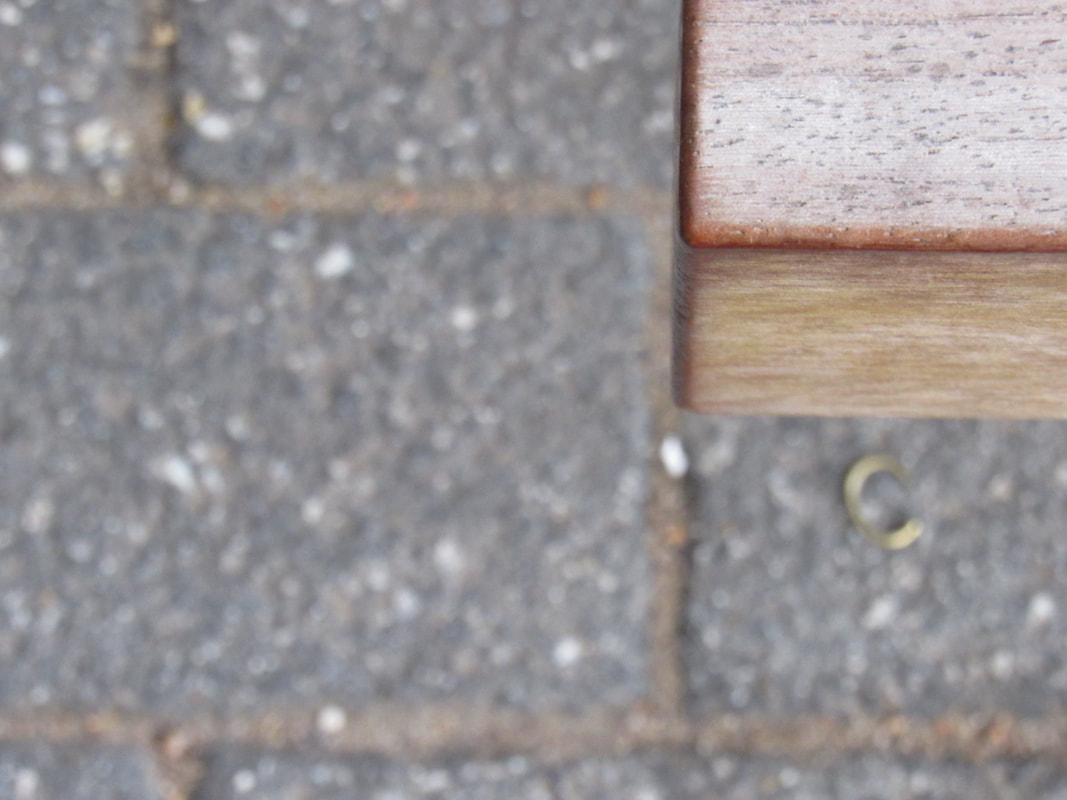
Today we took picture in block one of edges and we were given camera and mirror to experiment with edges. :)
Edges are important in photography because they can add contrast and can make something dull look like it has more to it. They can also add shadow making it look more toned and have more depth to it.


WWW:
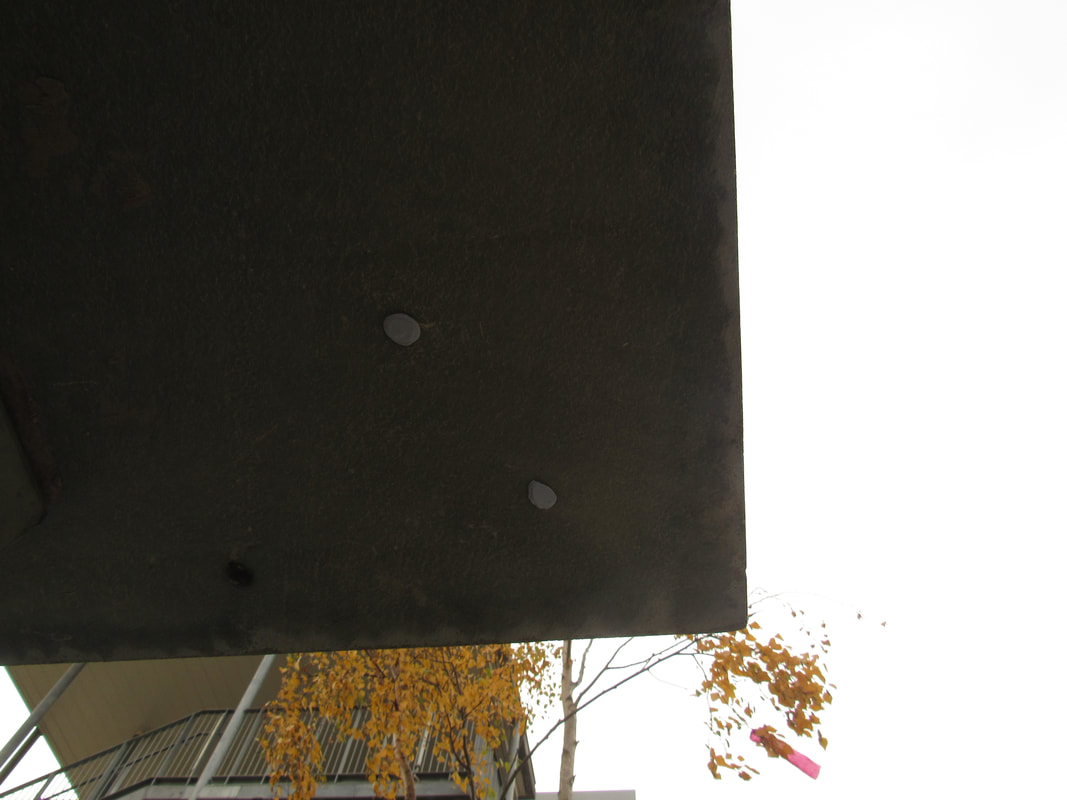
I like what I did with these photos because they are all similar without looking the same. All the pictures are of corners which I think makes it all look a lot neater and organised. Overall I'm proud of the pictures I have taken.
EBI:
I think I could have been more imaginative and taken more unique photos. I would have like to take more photos that aren't all corners and some more lines would have look nice with my other photos.
Photoshop Edits:


1) For the first one (blue) I like how the tree look a bit 3D and I did this by changing the hue and saturation of the photo and then darkening the light to look less pixelated, if I could do this one again I would make it look more like there was a shadow under the two mirrors to show that they are two separate things.
2)For the second one (purple) I like that theres more of a shadow between the two mirrors and the tree looks like it has more of a red under tone. I did this by changing the colour balance in the photo and darkening the lightness in the photo.
2)For the second one (purple) I like that theres more of a shadow between the two mirrors and the tree looks like it has more of a red under tone. I did this by changing the colour balance in the photo and darkening the lightness in the photo.
Edges in school:


Laszolo Moholy-Nagy:


He was a Hungarian painter and photographer. He was born July 20 1895 called Loszlo Weisz, he was also a professor in the Bauhaus school of arts as well as painting and taking photos.He died November 24 1946 at the age of 51.
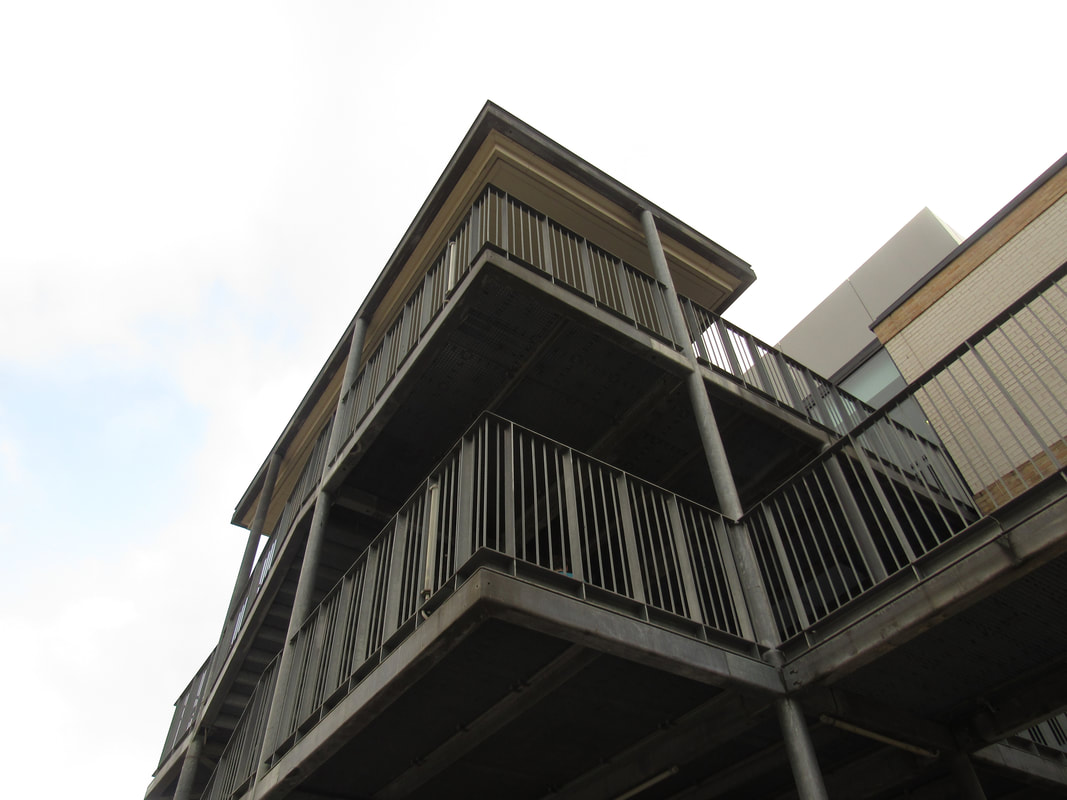
Important elements are how he used people are a focal point around his edges. When he took picture with people in them he is normally took them from a higher point looking down, and when he took pictures of buildings he is took them from a low point looking up. Majority of his building pictures were taken at the meeting point of two lines.
He used a perspective to bring you eye to one point his building pictures taken upward focus your eye up to the top of the picture and the sky but on the pictures with people in it which are taken downwards focus your eye on a certain person or the ground.
Homework:Edges
I found it semi-difficult because it was hard to find different edges and angles to make them stand out as well as trying to find light to enhance the angles I found.
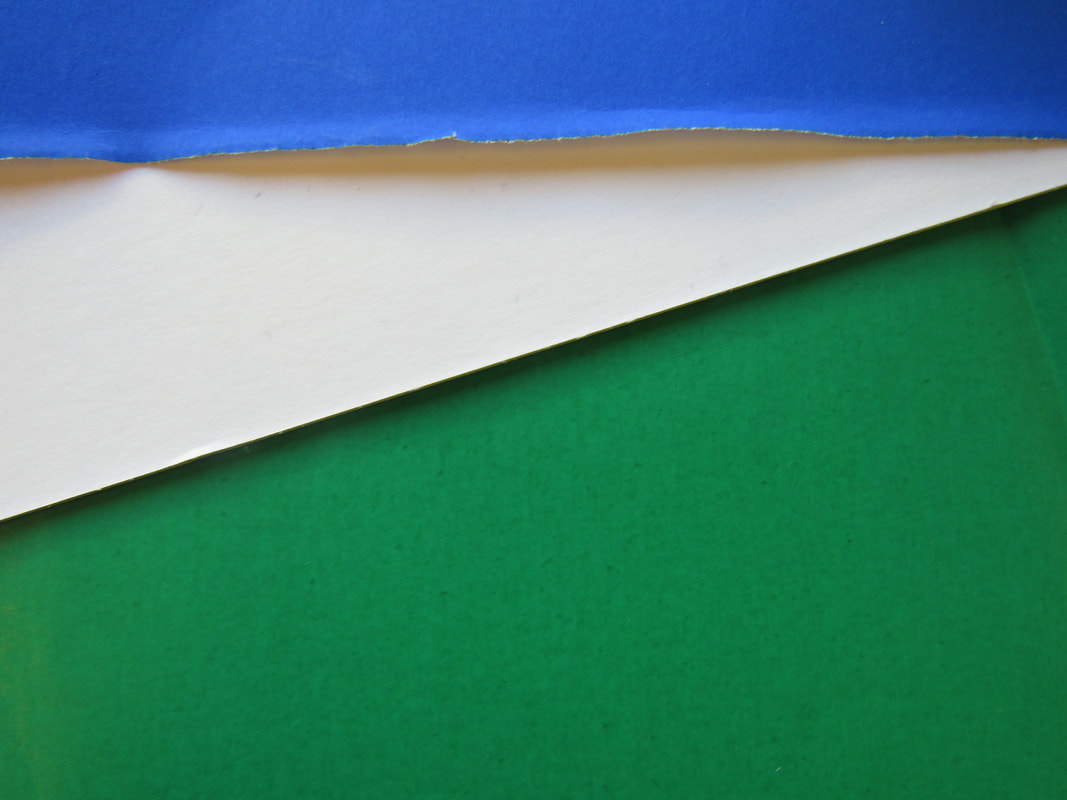
Paper edges:


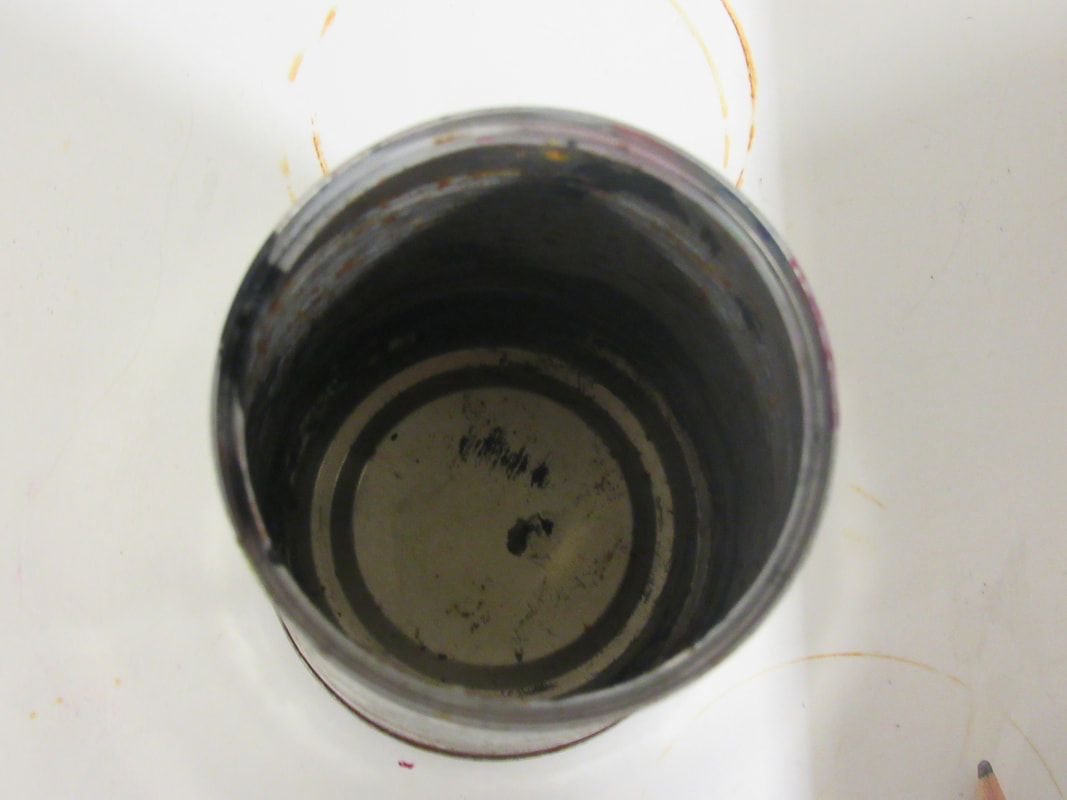
Today in class we were playing around with how light hits paper and how from different angles and different exposures can make paper look more abstract.
Jerry Reed:
He's a English photographer, who says that his main focus is to keep people who are looking at his work interested in his photographs. Most of his work consists of the contrasts from shadow and how light hits paper making it look less like paper and giving it a toning affect."As an educator, my intention is to provide learners with enough fundamentals to be able to begin making images that are meaningful to them."
Homework:
Homework: These photos were taken around my house mostly upper and lower views but a few of them are front view photos.


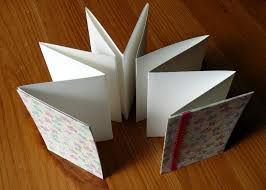
How to make a concertina book:https://www.youtube.com/watch?v=E4QHWas4G2I
|

|


The first photo book was William Henry Fox Talbot's the pencil of nature was the "first photographically illustrated book to be commercially published" or "the first commercially published book illustrated with photographs."
Anna Atkins was important because she was the first female in photography and to take a photo making it historically important in the photography world.
Influential photo books of all time are Paris de Nuit. The Decisive Moment. by Henri Cartier-Bresson. Moments Preserved. by Irving Penn.Evidence. by Mike Mandel & Larry Sultan.
A concertina book is a book that pulls out letting you see all of the photos you have taken together in a organised way and presentable way.
A photo book or photobook is a book in which photographs make a significant contribution to the overall content of photography and how it is displayed and make important discoveries.
Assessment:

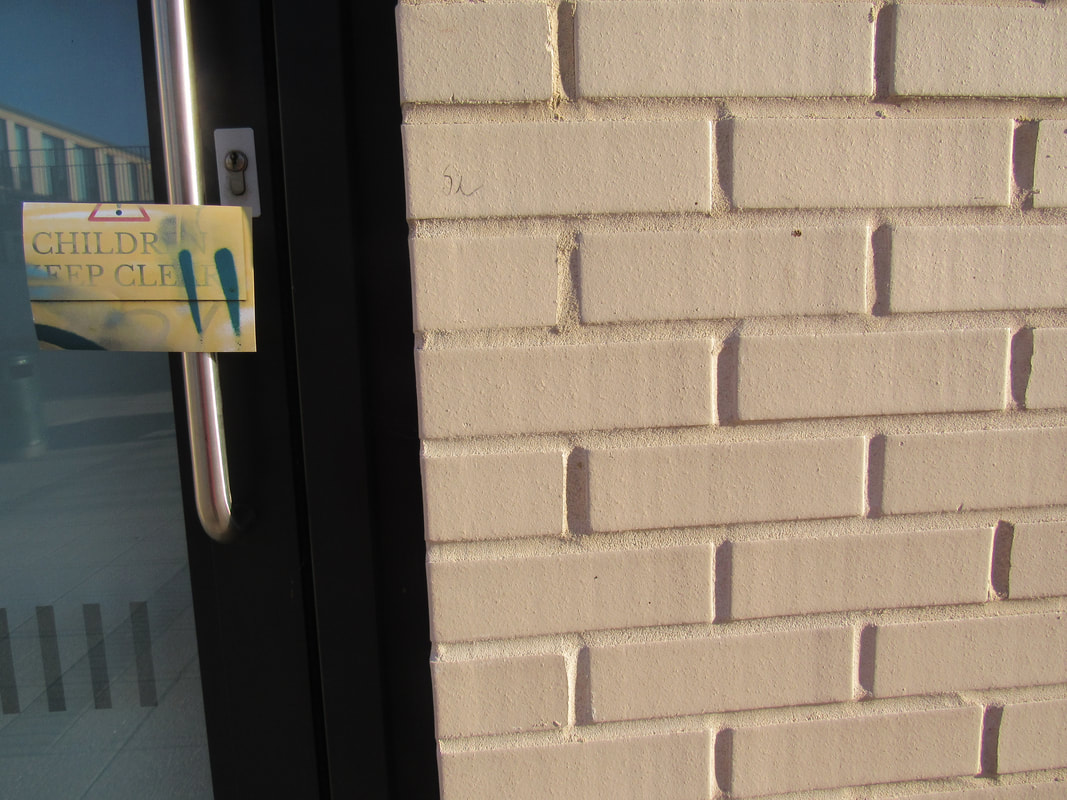
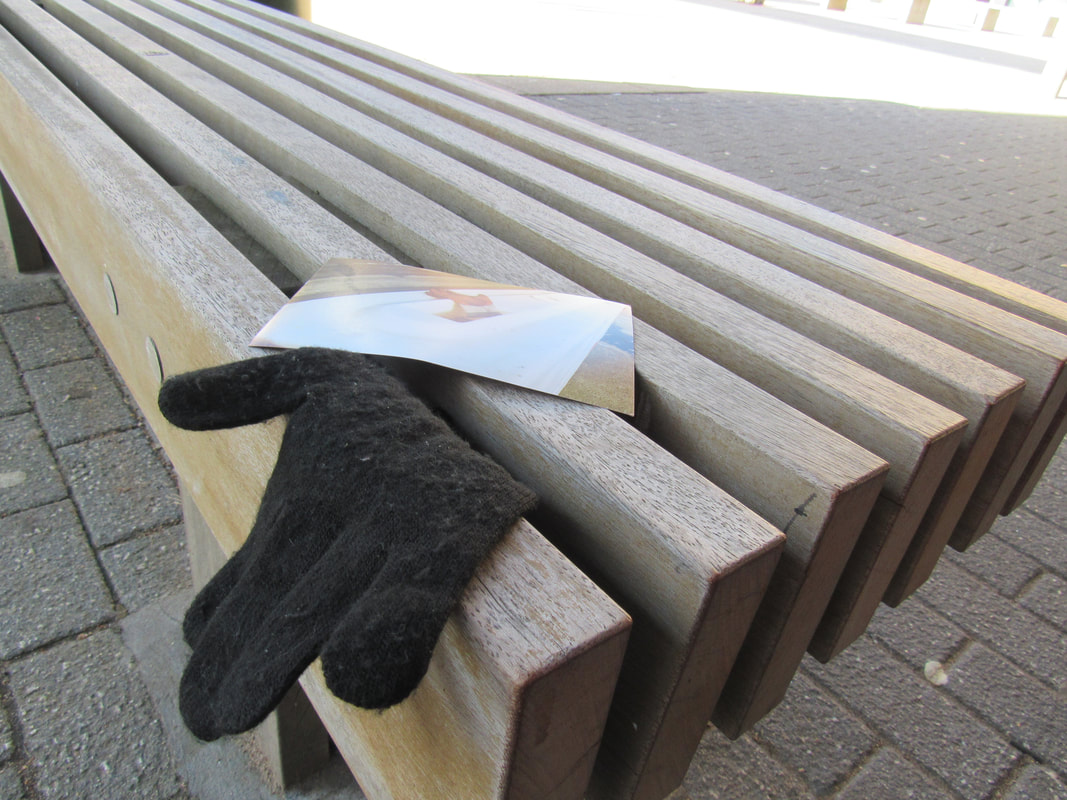
I chose these photos because all have different elements about them. The top two both have been taken at a curb but they have a major size and shape difference and one of the curbs are more clean sweep then the other which is a lot more messy, they also have different textures and some the same. The two underneath also are similar to each other because they are both signs but the first is taken from a side angle and around a corner at a hall but the second is a close up/zoomed in photo which has been vandalised by graffiti and the two main colours (blue and yellow) contrast and the blues has made the words under it look faded. The bottom photo I liked because of its the only one taken from a low angle and the glove adds colour but also looks different from the others because of the dark abbess under the glove dues to the light and where the sun has been positioned to create a shadow.


Assessment-Sculpture:

WWW:I like how I use wire to hold it up and not use any paper except the actual photos. I also like how I incorporated all the photos to all fit together and match in some sort of way. I think the way it came out is quite accurate to what I wanted to have at the beginning.
EBI:If I could change anything about the photo I think I would not have put so much weight on one side of the sculpture and balance out the weight evenly. I found sticking everything together the most difficult hing because sticking things to wire is quite difficult.
EBI:If I could change anything about the photo I think I would not have put so much weight on one side of the sculpture and balance out the weight evenly. I found sticking everything together the most difficult hing because sticking things to wire is quite difficult.

WWW: I like how the back ground turned out and when I took the photo there was no-one around so it was easy to take. When I photoshopped I think I had quite a steady hand the bigger pictures.
EBI:When photoshopping it was quite difficult to cut and crop out the surrounding to the wire so if I did this again I would probably use paper or wooden sticks instead. Also if I did this again I would want to make it look a little smaller so it look further back.
EBI:When photoshopping it was quite difficult to cut and crop out the surrounding to the wire so if I did this again I would probably use paper or wooden sticks instead. Also if I did this again I would want to make it look a little smaller so it look further back.

Edges Photogram:
Today in class we made photograms of edges. I think that the second two of the photos are the better ones because I missed the light a bit in the first one.I used objects that either has a curve or a point at the top and I think they came out quit well. For the first one I used a single paper clip and every two seconds I moved it around the paper so it looked like there were more than one. For the second I used three objects and kept them in the same place for six seconds, and for the last one I used three objects and very two seconds I moved only the paper clips and nothing else so it look like there were more then there was.
WWW:
WWW:
Edges around the classroom:


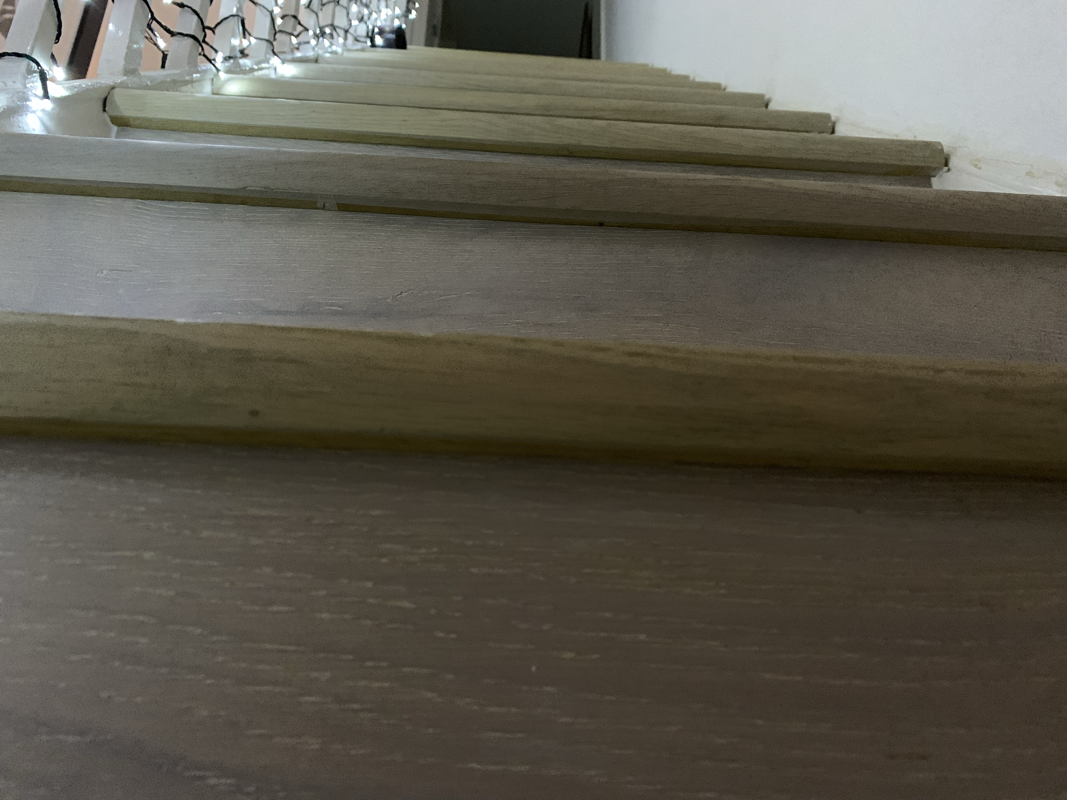
Today in class we did 'edges in class' and finding different types of edges in the classroom. I choose to do a mixture of different edges
e.g. curved, straight and diagonal. We used the rule of thirds feature on the camera to make sure we used the focal point to the image and to make it look neater,then if we didn't use the grind and having to eyeball it and not knowing if it is in the middle of tilted. The rule of third is a grid of lines and you would align your photo to match up with the vertical and horizontal lines on it to get an even flow from each section of the photo.
I like how each photo is different and not just the same type of edge along with how they are from all different angles and areas of the room. If I could do this again I would have taken a few more photos from a higher place of the room and taken a bit more time on each photo.
My favourite photo

|
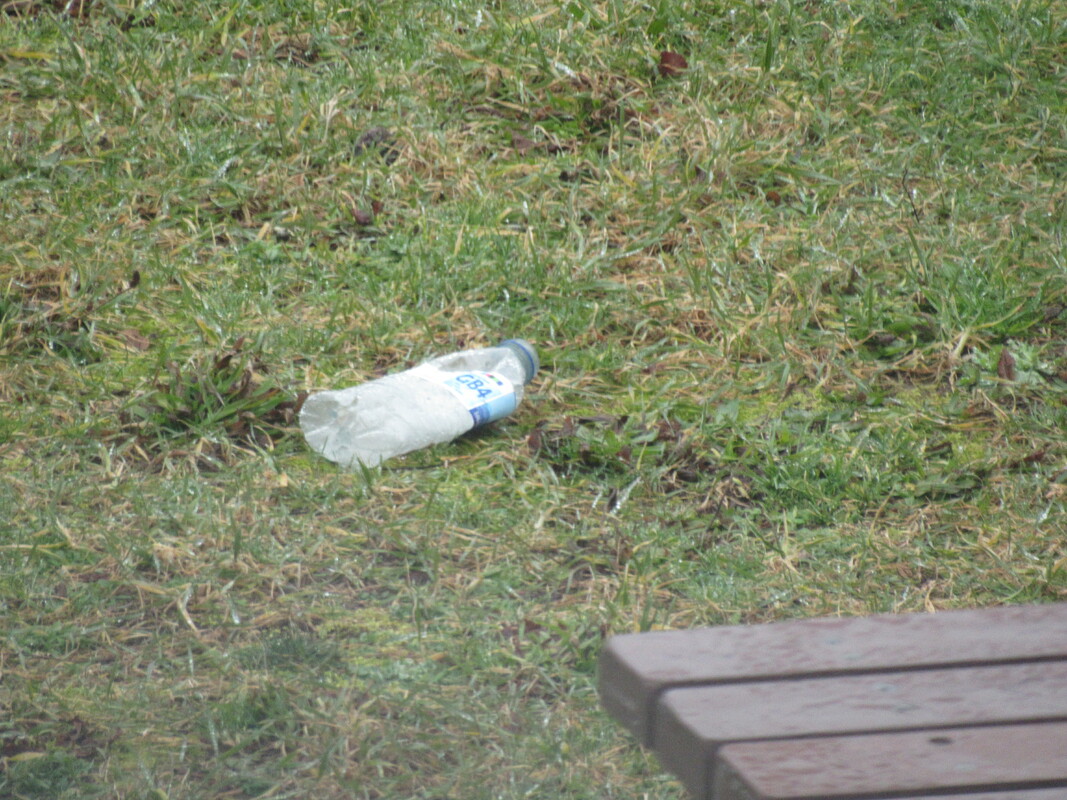
I like this photo the best because it is one of my most simple photos but it still has a lot going for it like how all for it, its just a sink which has by chance been left without being rinsed down.
I also like how because it has the paint splashes around it it looks like everything is being pulled to the middle. As well it not something worth photographing normally because people don't think that a sink is something worth looking at surprising people who try and get the most intricate instead of simple. |
Next time...
Next time I take photos I'm going to look for the things not worth taking photos of normally, like litter or paint brushes and paints.
Liam Frankland:
I chose Liam Frankland because he takes photos of ramdom and thing many people would find unworthy of taking a photo of. What he is doing is similar to what I want to do with my photos, and his project “lost and found” is an inspiration of what I want to do with my ‘what next’ photos.
‘The subject matter that I photograph is attained from a quiet observational rationale. I look to produce a photograph that communicates a narrative and often indicates at something unseen, easily missed or forgotten.’
‘The subject matter that I photograph is attained from a quiet observational rationale. I look to produce a photograph that communicates a narrative and often indicates at something unseen, easily missed or forgotten.’


Triptych:

What is a triptych in in photography?
A triptych is a arrangement of photos with a plain boarder around them. They can either be separate photos of different themes or one large photo split into three.
How do you create it?
You choose your three photos that compliment each other, then open all three into photoshop after that adjust all the photos to be the same size and expand the background so there will be space between the photos for a boarder once that is done you copy the other photos on there, finally save the photo and upload.
What next photos...


I chose theses photos because they all have a plain background which kind of brings them all together. I also like how all of them don't have a lot of colour, so it gives it a simpler look to it.


Diptych:
What is a diptych?
A diptych is two photos closely placed together and that are associated together in one type of way.
A diptych is two photos closely placed together and that are associated together in one type of way.
|
|
Today in class we made diptychs by taking photos of the type of edges we chose and then taking photos that would work well as a diptych and uploading them.
WWW: I found a couple photos that match what I was looking for and that I am happy with the out come with. EBI: If I could do this again I think I would go to another block in the school so I could find some more places with black and white and or secret messes. |


Independent project
In this project I wanted to do something out of my comfort zone and something that I would enjoy doing in the process as well. In this I wanted to take photos of edges with colour and photos of peoples faces (headshots) and photo shop those faces into the edges photos just to makes them more interesting and fun to look at. I'm doing this mostly because all of my other photos are quite dark and minimalistic/monochrome colours and I thought that for my own personal project I would do something different and something I'm not used to doing. I also chose to use photoshop because that is also something I'm not the most confident with so I thought that I would try it and see how it would go.


During this project I learnt how to use photoshop in a lot more detail then before. I learnt and understand how to use tools such as the crop tool, the paint bucket and the eraser tool and I'm quite glad that I now know how to use it for future preference.
If I could do this again I would be more careful cutting out the faces and I would also like to have made more in the time we had but it took me a while to learn how to use photoshop properly. I would ave also like to have made it into a collage or something you could physically hold or see in person. But I really like how it turned out just in general.
If I could do this again I would be more careful cutting out the faces and I would also like to have made more in the time we had but it took me a while to learn how to use photoshop properly. I would ave also like to have made it into a collage or something you could physically hold or see in person. But I really like how it turned out just in general.

This is the end produce of my edges project. I really enjoyed this project because it let me explore with new possibilities and not to be restricted to a certain type of edge. This project really helped me come to an idea of what type of photography that I enjoy doing-even though its forever changing- and allowed me to find out what I found most comfortable doing. I also like playing with photoshop and seeing what I can create in it with the photos that I took. One thing I wish I could do if I did it again would be to take and photoshop more photos.
